Pages

Showing posts with label basics. Show all posts

Thursday, 21 April 2011

Tutorial 2: More basics


Welcome back to the second part of the basic Redstone tutorials. In the last part you learned about some of the components in Redstone circuits, aswell as the block range of a current, and how to build a simple NOT gate (Aka an Invertor).

In this tutorial, I'll cover the range of inputs you can use, aswell as a second logic gate, the double NOT gate, also known as the Extender.

So to start it off, there's a few ways you can input a signal:

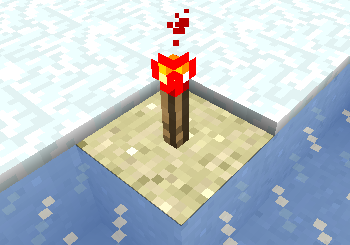
Redstone Torches

As has already been mentioned, these give out power whenever they are unpowered themselves. A Redstone Torch receiving power stops giving it out.


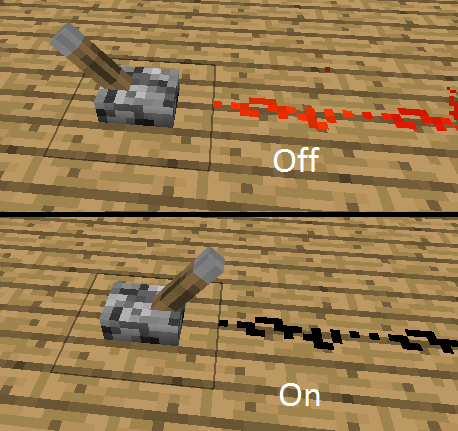
Levers

These have two states, OFF and ON. When flicked, they remain in that state until flicked to the opposite state.


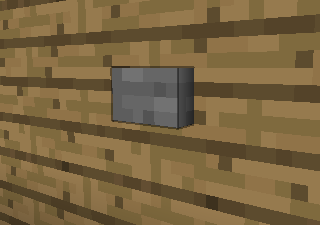
Buttons


These also have two states, OFF and ON, but their default signal is OFF. When pushed, they give out an ON signal for a brief amount of time, before switching off again.


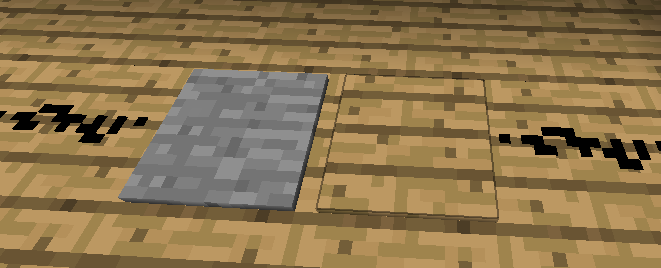
Pressure Pads

Like the two before, these can be either ON or OFF. Their default signal is the same as the button, OFF, and this changes to on when either;

They are stood on by the player or a mob or;

A block or item is dropped onto them.

When they no longer have any weight on them, they return to the default OFF setting.


So there's your inputs, meaning it's time to show you the second basic logic gate, the double NOT gate, aka the Extender.
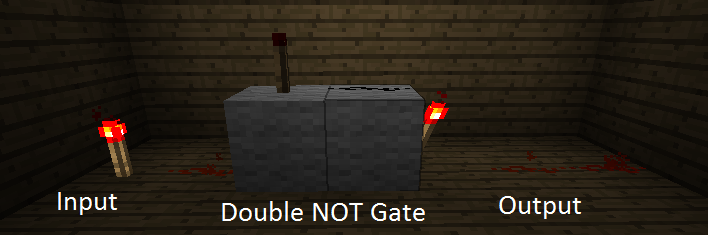


The Extender is essentially two NOT gates in sequence, but condensed down to save space. This first reverses the incoming signal, then reverses it again, leaving the output the same as the input. Doing this allows you another 15 blocks of current, meaning it's useful when creating long Redstone trails.

In the 3rd basics tutorial I'll cover the variety of outputs you can have in your circuits. Thanks for reading!

Tutorial 1: Basics


Welcome to the first part of our beginners redstone tutorial. In this tutorial, I'll be cover the very basics of redstone creations, and finish off by creating a simple logic gate.

There are 3 main components that are used in redstone circuits:

Redstone wire:


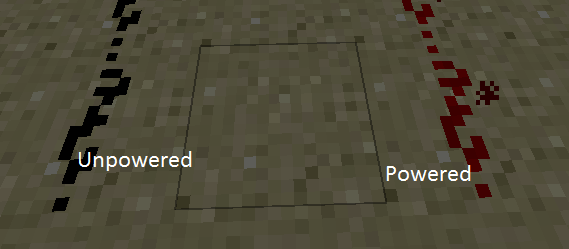
This can have two states, either powered (ON) or unpowered (OFF). Wire is ON when provided with an energy source, such as a redstone torch.

Redstone torches:


When placed at the end of a redstone wire, these provide power, enough for up to 15 blocks of wire.

Redstone repeaters:


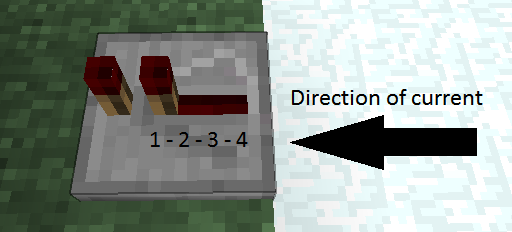
Repeaters delay the current passing through them by a maximum of 0.4 seconds, going up in intervals of 0.1, thus to create a 1 second delay, you would need 3 repeaters in a line, 2 set to the 4th interval and one to the 2nd interval.


So with these basics in mind, let's move on to some simple logic gates. These sound more confusing than they really are, as you'll discover.

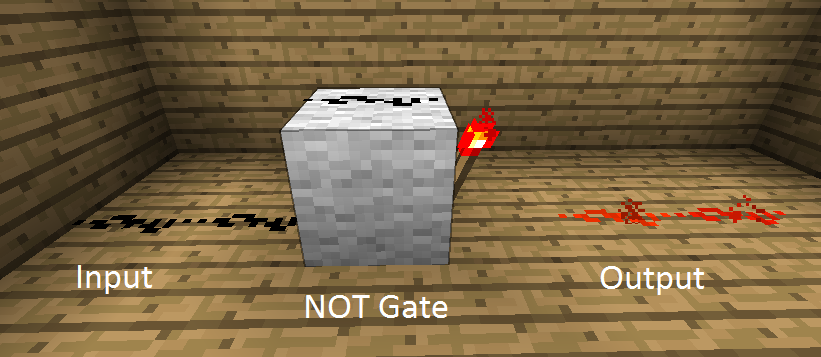
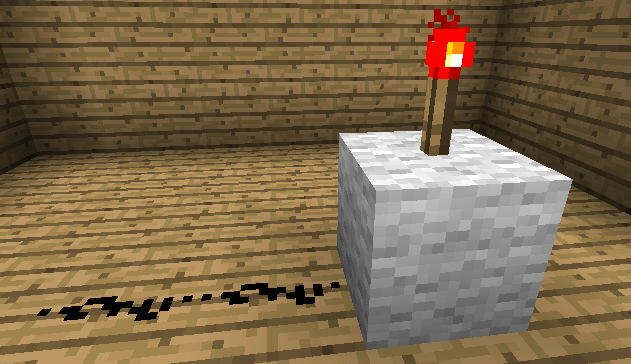
First off, we have the NOT Gate, also known as the Invertor. Why? Because it inverts the signal coming in, meaning if the incoming signal is ON, the outputted signal will be OFF.

These are easy to build:


"But how do these work?", I can hear you asking. Well it's simple really:

When a Redstone Torch is NOT receiving power, , it stays ON.


When a Redstone Torch IS receiving power from another source, it turns OFF.


So there you have it, the basics of Redstone and a simple invertor gate.

However, the invertor also has a clever little trick: It refreshes the 15 block limit for power, allowing it to travel 15 blocks from the NOT gate.

In the next tutorial I'll be covering different input and output sources, aswell as how to refresh the 15 block limit without inverting the signal.